2 October 2012,we learn about how to use the multisim , therefore I would like to all about how multisim software works.Now,lets move throughout this question :
1.what is multisim all about?
Multisim (formerly MultiSIM) is an electronic schematic capture and
simulation program which is part of a suite of circuit design.
2.Why use this multisim software?
With Multisim, you can optimize your circuit design performance with
powerful SPICE simulation and intuitive analyses. You can reduce design
errors, prototype faster, and improve productivity.
Save prototype iterations and optimize printed circuit board (PCB)
designs earlier in the design process by using the Multisim design
approach.
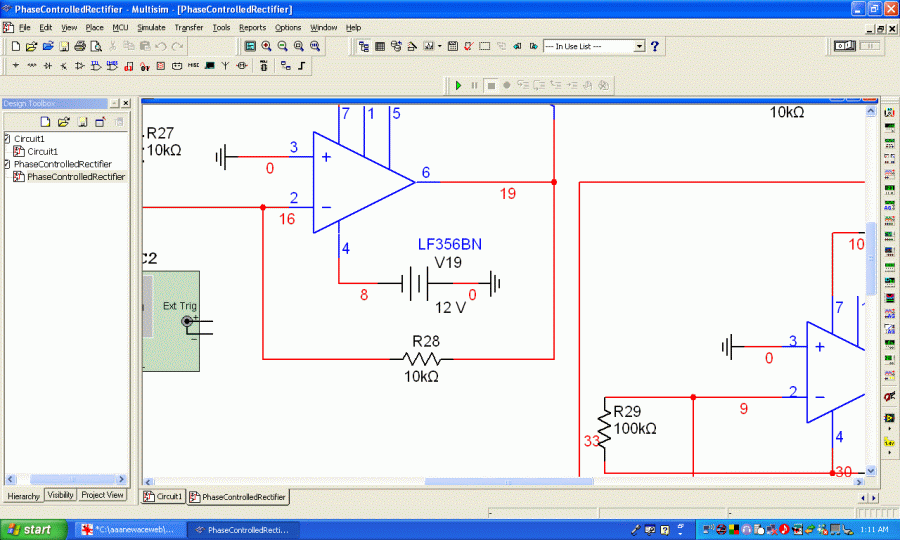
3.How does it looks alike?
4.How to use it?
- Click on the "Place" menu tab. This is located in the top left-hand corner of the Multisim main screen, directly to the right of "View." This will bring up a drop-down menu, from which you should click on "Components." This brings up the "Select a Component" window.
- Choose your desired component by navigating the window's menu systems. Click the drop-down menu underneath the word "Group" to select the type of component you wish to place. Choose "Basic" for simple components such as resistors, switches and transformers. Select the desired "Family" of components from the list on the left-hand side of the screen.
- Select the specific type of component. After you've selected a "Family" of components, such as "Resistor," a list of specific components will appear in the central column. Click on the desired component to select it, and then click "OK." The component lists are often long, and they can be quickly searched by typing the start of your desired component's name in the field underneath the word "Component" at the top of the column.
-
Place the component in the desired location in the
workspace. The workspace is the large white, dotted board that takes up
the majority of the display. The component you have selected will be
shown in a ghost image attached to the mouse cursor. Click the location
where you wish to place the component.
-
Repeat the process of selecting components until all the
desired components are in their designated locations. For example, if
you want to add a power source, go to the "Sources" group and make your
selection from the options displayed there.
-
Right click a component if you wish to rotate it. Select "90
Clockwise" from the menu to rotate the component to the right, and "90
CounterCW" to rotate the component to the left. Double click a component
to bring up the component's window. From this window, you can change
the component's value and the way the component is displayed.
-
Connect your components using wires. These can be selected
by going to the "Place" menu followed by "Wire." You can then click and
drag wires in the desired locations to connect your components.
-
Click on the "Grounding" icon to ground your circuit. This
icon is located in the far left hand side of the main screen, two spaces
below the "New" icon. The "Grounding" icon has two horizontal lines,
and the higher of the two is wider.
- Press "F5" or the "Run" icon to simulate your circuit. The "Run" icon is a green "Play" triangle, and is located on the upper right portion of the screen.

This is the latest multisim software you can use if you are intersted to learn how to design a circuit in a simple way.Stay tune fro more updates later on about electronic .Thank you
No comments:
Post a Comment